Outdoor gas fire inserts for Do-It-Yourself projects
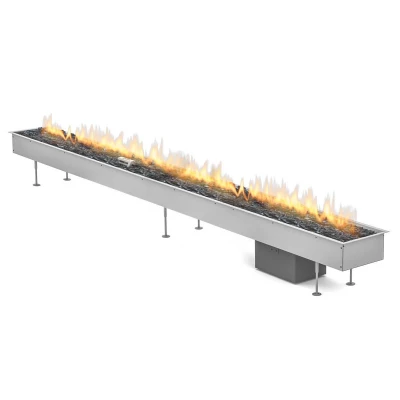
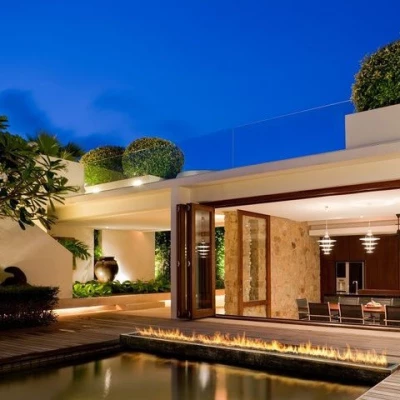
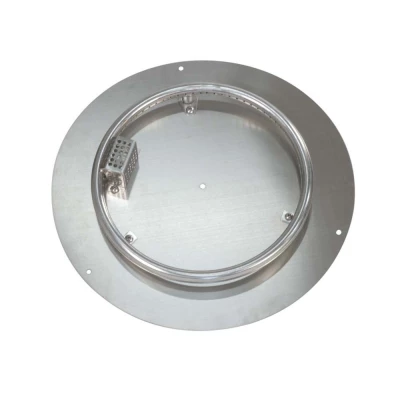
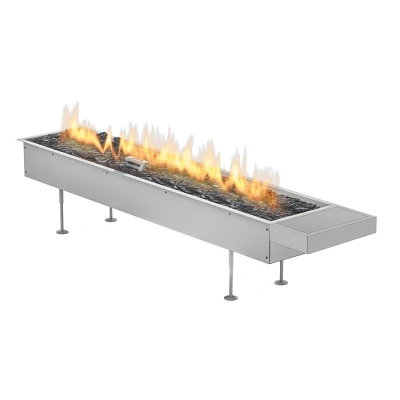
Looking to add an outdoor fireplace to your DIY project list? Check out our selection of outdoor gas fire inserts, perfect for building your own gas fireplace. Our options include built-in burners, round and rectangular shapes, and automatic options for added convenience.
These gas burners are only for outdoor use.
.webp)
All products

From 6-7 weeks
6-7 weeks
How to build your own outdoor gas fireplace
Building your own outdoor gas fire table using a gas insert can be a rewarding project. However, it's important to note that working with gas lines can be dangerous, and it is recommended to consult with a licensed professional for assistance.
Depending on the country and region working with hardwired gas lines is only allowed by licensed professionals.
Butan and LPG gas canisters are usually allowed for everybody.
Here is a general outline of the steps involved in building an outdoor gas fire table with a gas insert:
- Design and Planning: Determine the design and size of your fire table. Consider factors such as the available space, desired fuel type (propane or natural gas), and the type of gas insert you will be using.
- Gather Materials: Purchase all the necessary materials for your fire table, including a gas insert suitable for outdoor use, fireproof materials for the table structure, gas supply lines, valves, fittings, and decorative materials like fire glass or lava rocks.Gas valves, lines and fittings are usually supplied with the gas fire insert.
- Build the Table Structure: Construct the table structure using fire-resistant materials such as concrete blocks, metal, or stone. Ensure the structure is sturdy and can support the weight of the fire insert and table surface. Create an opening or recess in the table structure to accommodate the gas insert. Some inserts can be built into flammable materials. Check the installation manual for the individual gas burner insert.
- Install Gas Line: If a longer gas line than the one supplied with the burner is needed, consult with a licensed professional to install the gas line and connect it to the gas insert. They will ensure proper sizing, pressure regulation, and adherence to safety standards. Gas lines must be buried or run through proper piping to the table.
- Ventilation and Safety: It is recommended to incorporate ventilation features into the table structure to allow for proper airflow and prevent the buildup of gas or heat. This can include vents or openings on the sides or bottom of the table.
- Place the Gas Insert: Carefully position the gas insert into the designated opening or recess in the table structure. Follow the manufacturer's instructions for proper installation and securing of the gas insert.
- Connect the Gas Supply: Attach the gas supply according to the manufacturer's instructions. Use appropriate fittings and connectors to ensure a secure and leak-free connection.
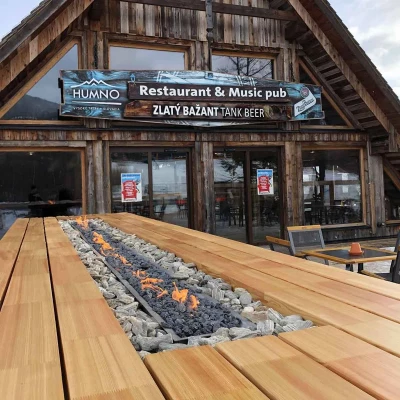
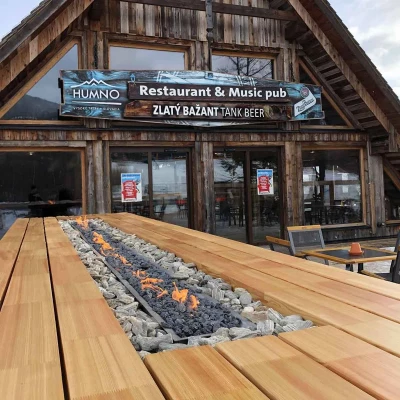
- Finishing Touches: Add the finishing touches to your fire table, such as the table surface, decorative elements, and fire glass or lava rocks to cover the burner. Make sure to use materials rated for high temperatures and suitable for outdoor use.
- Testing and Inspection: Check for gas leaks, proper ventilation, and compliance with local regulations.
Remember, it is crucial to follow local codes and safety guidelines when working with gas and constructing outdoor fire features. Safety should always be a top priority when working with gas installations.


_53849.webp)
_53850.webp)
_53988.webp)
_53989.webp)
_53992.webp)
_53991.webp)


_46097.jpg)
_44491.jpg)



_47908.jpg)
_47909.jpg)