

Guides
Bioethanol Fireplace Guides

How much does it cost to run bioethanol fires?
How much does it actually cost to keep a bioethanol fireplace burning for an evening? It mainly comes down to three things: how much fuel your burner uses, what you pay for a litre of bioethanol, and how many hours you enjoy the flames. Some bioethanol fireplaces cost as little as 60p an hour to run, while larger models with longer flames naturally use more. Use the calculator below to work out the cost for your own fireplace, then compare three examples from our range to see how the design affects fuel consumption and burn time. Calculate the running cost of your bioethanol fireplace Enter the figures for your fireplace and how you plan to use it. If you already own one, you will usually find the fuel consumption in the product specifications or the user manual. The calculator estimates fuel costs only. Enter your own fireplace's stated consumption and the price you pay per litre. What does bioethanol cost in the UK? In the UK, fireplace-grade bioethanol currently sells for around £3 per litre, depending on the brand, the pack size and delivery. That is the price we use in every example in this guide, so the figures give you a realistic picture of what an evening in front of the fire costs. If you pay more or less, simply change the price in the calculator. How to work out the running cost The sum is simple: multiply the fuel consumption per hour by the price per litre. At 0.25 litres an hour and £3.00 a litre, for example, the fuel costs 75p for every hour the fireplace is lit. Multiply that by the number of hours, and you have the cost of an evening. The size of the burner and the flame setting both affect consumption. A longer flame usually needs more fuel, while some burners can be turned down. The size of the tank decides how long the fireplace can burn between refills, but on its own it tells you nothing about the running cost. How long does a litre of bioethanol last? A litre goes further in a small burner than in a large one. The table shows the total burn time a litre gives at a steady consumption. It does not mean that every fireplace holds a full litre or can burn continuously for the whole period. Fuel consumption Total burn time per litre Cost per hour at £3.00/L 0.20 L/h 5 hours £0.60 0.25 L/h 4 hours £0.75 0.46 L/h About 2 hours 10 minutes £1.38 Lambeth, for example, holds only 0.5 litres. At an estimated 0.20 L/h, one fill gives about 2.5 hours of burn time under normal conditions. Always keep to the burner's maximum fill level and let it cool as the manual instructs. Three examples: small, enclosed and long flame To make the figures more tangible, we have worked out the costs for three different fireplaces from our range. The calculations are based on £3.00 per litre and each model's stated consumption per hour. The examples sit alongside the calculator and are not settings built into it. Running costs at £3.00 per litre Specification Lambeth Tabletop fireplace Washington Enclosed bioethanol stove Lansing L Freestanding, long flame Heat A little extra warmth Steel body holds the heat Longer flame, higher consumption Fuel consumption 0.20 L/h 0.25 L/h 0.46 L/h Tank capacity 0.5 L 1.5 L 3.5 L Burn time Up to 2.5 hours* Up to 6 hours About 7.5 hours Flame Small, compact flame Tall central flame Long, wide flame Cost per hour £0.60 £0.75 £1.38 Cost for 4 hours £2.40 in theory (needs cooling and a refill) £3.00 £5.52 Cost per full tank £1.50 £4.50 £10.50 Best for Shorter evenings, easy to move Long evenings A focal point with a long flame * Lambeth's average consumption of about 0.20 L/h is calculated from its 0.5-litre tank and stated burn time of 2.5 hours. The four-hour cost is theoretical, because the fireplace cannot burn for four hours on a single fill. Follow the manufacturer's instructions and let the burner go out and cool completely before any permitted refill. All prices are estimated fuel costs only, based on £3.00 per litre. Lambeth: a small tabletop fireplace for shorter evenings Lambeth is an affordable tabletop fireplace that you can move around and light wherever suits you, as long as you follow the manual. With an estimated consumption of 0.20 litres an hour over its 2.5-hour burn time, it costs about 60p an hour to run. The small 0.5-litre tank is its main limitation if you want a fire all evening. One fill lasts up to 2.5 hours under normal conditions, so Lambeth suits a shorter session better than three or four hours in a row. Washington: a bioethanol stove for long evenings Washington has the familiar look of a wood-burning stove. It uses 0.25 litres an hour, slightly more than Lambeth, but its 1.5-litre tank gives up to six hours of burn time. Four hours costs about £3.00. The enclosed steel body warms up while the fire is lit and gives some of that heat back after the flame has gone out. It adds to the feeling of a real stove, although it is the same energy the fuel has already released, so it is not extra heat. Does the enclosed stove make the fuel last longer? The stove body can shield the burner from draughts and change the airflow around the flame, which may affect consumption. How large that effect is, and in which direction, has not been tested in a controlled comparison with Washington. Always use the burner in its approved setup. Lansing L: a longer flame with higher consumption Lansing L has a long, visible flame and a freestanding design that can also work as a room divider. It uses 0.46 litres an hour, which comes to £1.38 an hour at £3.00 a litre. Four hours costs about £5.52. With a 3.5-litre tank and a burn time of about 7.5 hours, it suits anyone who wants a large flame for many hours and is happy with the higher fuel cost. Lambeth and Washington show why the hourly cost and the burn time should be looked at together. Lambeth uses a little less fuel an hour and can be moved around, but Washington's larger tank makes it more practical for a whole evening. Lansing L offers a different experience, with a longer flame and higher consumption. Washington in different conditions: do draughts change the burn time? A burner's consumption can change with the airflow around it. We are preparing a practical comparison in which the Washington burner runs in three different conditions. The times below are indicative figures that still need to be verified, not results from a controlled test. Indicative comparison of Washington with 1.5 litres of bioethanol Measurement Inside Washington Showroom with draught Outdoors Indicative burn time 6 hours 5 hours 4 hours Calculated consumption 0.25 L/h 0.30 L/h 0.375 L/h Calculated cost per hour £0.75 £0.90 £1.13 These are indicative calculations that assume the same 1.5 litres is used in all three setups. Actual consumption and burn times need to be measured before the figures can be treated as a test result. Airflow may explain the differences, but this comparison does not prove the cause on its own. A loose burner, or one intended for indoor use only, must never be used outside its approved installation or in windy conditions. The outdoor scenario is not a recommendation. Our tip: make your fuel last longer by turning the flame down If you have an adjustable burner, you can often enjoy a lovely flame and use less fuel at the same time. First let the flame settle for as long as your fireplace's manual recommends. Depending on the burner, that usually takes 10 to 30 minutes. Once the burner is warm and running normally, a lower flame setting can still give an attractive orange flame with lower consumption. We often see this with manually adjustable burners. How the flame looks and how much you save depend on the model, the fuel and the setting. Bear in mind that a smaller flame also gives less heat. Only turn down a burner that is designed for it, using the supplied tool and following the manufacturer's instructions. Never try to adjust a burner that is not approved for it. Lambeth, for example, has a fixed flame that cannot be adjusted. In the video below you can see Lambeth and Washington side by side. Washington has an adjustable burner, so the flame can be turned down to save fuel, while Lambeth's flame is fixed. Lansing L also has an adjustable burner. Is a bioethanol fireplace expensive to run? It depends on the kind of flame you want and how often you light it. At £3.00 a litre, a four-hour evening costs about £3.00 with Washington and about £5.52 with Lansing L. If you light the fire twice a week, that works out at roughly £26 or £48 in an average month, assuming the same consumption each time. A bioethanol fireplace gives you a real flame and some extra warmth without the logs, ash and chimney that come with a wood burner. An enclosed steel model can also release stored heat after the fire has gone out. Bioethanol is not the cheapest way to heat a home, though. If your heating bill is the main concern, compare it with your electricity tariff, gas central heating, a heat pump and the other heat sources you have. How to keep running costs down Choose a burner with a flame size that matches the way you plan to use the fireplace. Check the stated consumption, the tank size and the burn time, especially if you want a fire for three or four hours at a time. Where the manufacturer allows it, turning the flame down on an adjustable burner can stretch the burn time further. Buying bioethanol in larger packs or by the case often lowers the price per litre. Compare the total price including delivery, and always use the fuel your fireplace is approved for. Never refill a burner that is lit or still warm; let it cool completely as the manual instructs. Find the fireplace that suits you Once you know roughly what the fuel will cost, it is easier to choose a fireplace that matches the way you will actually use it. Compare the consumption figures on our product pages, or get in touch if you would like help choosing between a small tabletop fireplace, an enclosed stove and a larger freestanding model. Shop bioethanol fireplaces | Shop bioethanol stoves | Buy bioethanol
Read more
TV Wall with a Built-In Fireplace
Thinking about a TV wall with a built-in fireplace? Discover the best ways to combine a bioethanol or electric fireplace with your television, plus safety tips for every layout.
Read more
How to Install Foco Bioethanol Fireplaces
Installing a Foco built-in bioethanol fireplace is easier than you might think. In this guide, we walk you through the five installation steps with images for each, plus video guides for every Foco model — so you can get your new fireplace fitted with confidence.
Read more
How to Clean Your Bioethanol Fireplace
Keeping your bioethanol fireplace clean is easier than you might think. In this short guide, we explain why regular cleaning matters and walk you through the simple steps to keep your bio fire looking its best for years to come.
Read more
Water Vapour Fireplace Guides

How to install water pump for E-Matrix Fires?
An e-MatriX creates its "flames" from water vapour and therefore needs water. If the fire sits somewhere you can't run a water pipe to, you use a water pump kit with a tank instead of a mains connection. Here is the whole installation, step by step. This guide is written for the e-MatriX, but the same kit and the same method apply to e-Slim Linear, CAS500 and CAS1000. If you're looking for error codes instead, they're in our guide to error codes and spare parts. The one rule you can't break The pump box must sit lower than the tank outlet. Otherwise the pump cannot prime, and the fire will throw a water fault the very first time you run it. Everything else in this guide can be adjusted - this can't. Water supply Do you actually need a pump? There are two ways to supply the fire with water. The choice comes down to where the fire is installed, not which model you have. Mains connection The fire connects to the mains supply with a ½" or ¾" fitting. Water pressure must be between 0.5 and 8 bar. It's the simplest solution: no tank to fill, no tank to clean, and no risk of the pump running dry. Water pump kit If you can't run water to the fire - a freestanding wall, an island installation, or a refurbishment where pipework gets expensive - you use a pump kit with a tank. The trade-off is that the tank needs filling and cleaning regularly. Please note No tank is supplied with the pump kit. You choose your own, and there are some clear requirements for it. Either way the same rule applies: filtered or decalcified water only. Preparation Choosing the right tank The tank has to meet four requirements. It must be plastic, in a material that won't react with the water. It must not be fully sealed - it needs to draw air in, or the water won't flow out. It must be able to stand on a stand or shelf so the outlet is higher than the pump box. And it must be easy to reach, because it needs cleaning. The size determines how often you'll be refilling: Model Water consumption 10 litres gives you e-MatriX mood / 800 / 1600 ST approx. 200 ml/h approx. 50 hours of running time e-MatriX linear approx. 400 ml/h approx. 25 hours of running time CAS500 approx. 200 ml/h approx. 50 hours of running time CAS1000 approx. 400 ml/h approx. 25 hours of running time e-Slim Linear 1200/450 approx. 400 ml/h approx. 25 hours of running time e-Slim Linear 1700/450 approx. 600 ml/h approx. 16.5 hours of running time e-Slim Linear 2200/450 approx. 800 ml/h approx. 12.5 hours of running time These are the manufacturer's guide figures and do not allow for evaporation from the tank itself. Faber's user manual states 0.15 l/h for mood and 800/1600 ST and 0.3 l/h for linear - size your tank on the higher figure. What you'll need to hand A drill with a 16-20 mm bit or hole saw, chosen to suit the tank material. A sharp knife to cut the blue pipe to length. Pliers for the white clips. Two screws for mounting, if the pump box is going on the wall. Positioning Where should the pump and tank go? Within 2 metres of the fireplace. Pump box below the tank outlet - always. Tank and pump may sit a maximum of 2 metres below the water level in the fire's sump. Never place the tank above the fireplace. Enough clearance from live parts that a spill can't reach the electronics. The pump box sits feet down - on the floor, or hung on the keyhole slots on the back using two screws 90 mm apart, protruding 5-10 mm. Both need to stay accessible: the tank for filling and cleaning, the pump box for servicing. Build a stand In practice the height requirement almost always means the tank stands on a small stand or shelf, with the pump box on the floor below it. Work that out before you drill into the tank. Step by step Fitting the tank, pipework and power We recommend having a qualified plumber make the connections, so the installation is secure and watertight. Drill the hole in the tank. 16-20 mm, as close to the bottom as possible - that way you use all the water in the tank. Fit the bulkhead. Remove the plastic nut, insert the bulkhead into the hole with the rubber seal on the outside, and tighten the nut on the inside. Run the clear pipe. Push the 500 mm clear pipe fully over the barbed end of the bulkhead and fit a white clip around it. Fit the valve. Connect the other end of the pipe to the water valve. The valve can face either direction. Connect the pump. The clear pipe from the pump box goes on the other side of the valve. Fit clips on both sides - but not where they obstruct the valve handle. Blue pipe into the pump outlet. Push it fully home; about 12 mm of pipe should go into the fitting. On to the water filter. Watch the flow direction arrow on the filter - the pipe from the pump must go into the filter inlet. From filter to fire. Cut a suitable length of blue pipe and run it from the filter outlet to the ball valve and mesh filter at the fireplace. Power. Fit the cable to the pump box and the other end to the terminal on your appliance. For e-MatriX and CAS500/1000 you use the 2-way cable (A). The 3-way cable (B) is for e-Slim Linear only. First start-up. Fill the tank, open the valve, and check that water is visible in the clear pipe at the pump inlet. If it isn't, briefly remove the blue outlet pipe from the pump box to let water flow in and prime the pump. Never run the pump dry The pump box must never run without a water connection. If you start to hear the pump clearly, the tank is running low - top it up. Run completely dry and the fire will stop with a water fault, and the pump can be damaged. Day to day Refilling, cleaning and faults Once water and power are connected, the pump box feeds water to the fire whenever it calls for it. The pump runs quietly and shouldn't be audible in normal operation. If it starts to make itself heard, the tank is usually running low. Refilling When the tank runs dry, the fire stops and reports a low water level. Refill the tank, then reset the fire - the procedure is in our error code guide. Cleaning the tank Clean the tank every four weeks. Close the valve between tank and pump box. Remove the white clip nearest the pump box with pliers, pull the clear pipe off the valve, and lift the tank out. Add a little washing-up liquid, clean all surfaces with a soft brush, and rinse thoroughly with clean water so no residue is left behind. Use filtered water only Limescale is the most common cause of faults on a water vapour fireplace. Filtered or decalcified water extends the life of the pump, the solenoid valve and the transducers alike - and limescale damage is not covered by the warranty. Spare parts Parts for the pump and water connection Below are Faber's original part numbers for pump operation and water connection. Send us the part number along with your model name and serial number and we'll come back with price and lead time. Pump accessory kit (tank not included) Faber 400001562 Connection wire (A) for pump, 2-way, L=2 m - the cable an e-MatriX needs Faber 06023876 In-line water filter - the main filter on the water supply Faber 06023397 Mesh filter Faber 06023605 Water connection set (ball valve, fittings and clips) Faber 06023373 Water tube ¼" (Ø6.4 mm) - sold per metre Faber 06023606 Safety clip ¼" Faber 06023885 Straight connector ¼" with ball valve Faber 06023884 Adapter kit ½" + 2 m water tube - for mains connection Faber 06023594 Please note The older pump kit with part number 211477 has been discontinued and replaced by 400001562. If you have an older kit, we can help identify the right individual parts - email us with the serial number of your fireplace. Frequently asked Common questions Does the water tank need to sit higher than the pump? Yes. The pump box must always be positioned below the tank outlet so the pump can prime itself with water. Tank and pump may sit a maximum of 2 metres below the water level in the fire's sump, and the tank must never be placed above the appliance. Does the pump kit come with a water tank? No. The pump kit is supplied without a tank so you can choose one that fits the space. The tank must be plastic, vented rather than fully sealed, and easy to reach for cleaning. What size tank do I need? A 10-litre tank gives approximately 50 hours of running time on an e-MatriX mood or 800/1600 ST, and approximately 25 hours on an e-MatriX linear. Choose a larger tank if you want to refill less often. How far can the pump sit from the fireplace? A maximum of 2 metres. Tank and pump may also sit no more than 2 metres below the water level in the fire's sump. Which cable does an e-MatriX need? The 2-way cable (A), part number 06023876. The 3-way cable (B) belongs to the e-Slim Linear and must not be used on an e-MatriX. Can I use ordinary tap water in the tank? No. Faber specifies filtered or decalcified water. Tap water contains limescale, which builds up on the pump, the solenoid valve and the transducers and eventually triggers error codes. Limescale damage is not a warranty matter. How much does a pump kit or spare part cost? Prices depend on the model, the part variant and current availability, so we quote each request individually. Send us the part number along with your model name and serial number and we'll come back with price and lead time. Unsure about your set-up? We have been selling and servicing water vapour fireplaces since 2012. Send us a couple of photos of the space where the tank and pump will go, along with the model name and serial number from the rating plate - we'll take a look before you start drilling. Email us at info@bioethanol-fireplace.co.uk This guide is based on the installation instructions for the Pump Accessory Kit (08/54487/0, issue 2) and Faber's user manual for e-MatriX linear, e-MatriX mood and e-MatriX 800/1600 ST (doc. 40012119-2240). Work on the water and electrical installation must be carried out by a qualified installer.
Read more
Dimplex & Faber Error Codes
CD51, CD52 or no mist? See what every Faber e-MatriX error code means, how to reset it yourself, and which spare part fixes it. Read the guide here
Read more
Troubleshooting Guide for Optimyst Water Vapour Fireplaces
Experiencing issues with your Optimyst water vapour fireplace? In this troubleshooting guide, we cover the most common problems — from reduced mist output to the fireplace not turning on - along with their causes, solutions, and maintenance tips to keep your fireplace running smoothly.
Read more
For and Against Opti-Myst Fireplace
The Dimplex Opti-Myst fireplace delivers one of the most realistic flame effects on the market, using water vapour technology to mimic real fire — without the smoke, fumes, or installation costs. But is it right for your home? This guide covers the key pros and cons to help you decide.
Read more
Electric Fireplace Guides

How Much Heat Does an Electric Fireplace Give Out, and What Does It Cost to Run?
Two questions come up more than any others about electric fireplaces: how much warmth will it actually give out, and what will it cost me to run. They are really the same question from two directions, because the heat output determines the consumption. This guide covers both. How Much Heat Does an Electric Fireplace Give Out? Most electric fireplaces produce between 1kW and 2kW of heat, with some larger models reaching around 3kW. Nearly all offer at least two settings, so you can run at full output or roughly half. Most models work by passing air over a heating element and blowing it into the room with a fan, which warms the space quickly. Some use radiant elements instead, which heat objects and people directly rather than the air. Heat and flame work independently. Every model we sell lets you run the flame effect with the heater switched off. This is how most owners use their fireplace for the majority of the year, and it is also the single biggest factor in what it costs you. What Affects How Warm the Room Gets Two identical fireplaces in two different rooms will not feel the same, and the difference is usually the room rather than the appliance. Insulation. A well-insulated modern room holds onto heat; an older, draughtier one loses it as fast as the fire supplies it. Ceiling height. Sizing rules are based on floor area, but the fire has to warm a volume. High ceilings need noticeably more output. Glazing. Large windows and patio doors lose a lot of heat, particularly if they are single glazed. Draughts. An open chimney, an ill-fitting door or an unsealed letterbox will undo a lot of what the fire is doing. Climate. The same fireplace has a very different job in a mild winter than in a cold one. Open-plan layouts. If the room opens into a hallway or another space, the warm air will spread further than the floor area suggests. This is why no guide can tell you exactly how warm your room will be. What a sizing figure gives you is a sensible starting point, which you then adjust up if several of the factors above apply to you. Supplementary Heat, Not a Central Heating Replacement An electric fireplace is designed to warm the room it sits in. It is not built to heat a whole house, and using one that way is both ineffective and expensive. Used as intended, it is a good complement to an existing system. It takes the chill off a living room in the evening without firing up the central heating for the entire property, and it pairs well with underfloor heating, which is slow to respond, by providing quick warmth on demand. What Does It Cost to Run? The calculation is simple once you know two numbers. Power (kW) x hours used x your electricity rate = cost A 2kW fire running for 3 hours uses 6 kWh. Multiply that by whatever you pay per kWh and you have your answer. Your electricity rate is printed on your bill, usually as a price per kWh. That single number is what makes running costs vary so much between households and between countries, which is why no guide can give a figure that is accurate for everyone. What Each Setting Actually Draws Because the flame effect is LED lighting, it costs very little to run. The heater is where nearly all the consumption sits. Setting Typical draw Energy used per hour Flame effect only Well under 0.1 kW Comparable to a few LED bulbs Heater on low Around 1 kW 1 kWh Heater on high Around 2 kW 2 kWh Check the rating plate or specification for your own model, as outputs vary. The pattern holds regardless: the flame on its own costs a small fraction of the heater, and the low setting costs roughly half the high setting. Working Out Your Own Cost Usage Energy used 1 kW for 4 hours 4 kWh 1.5 kW for 4 hours 6 kWh 2 kW for 4 hours 8 kWh 2 kW for 4 hours, 5 evenings a week, across 3 winter months Around 480 kWh That last row is worth pausing on, because an hourly figure always sounds small and a seasonal total is what actually turns up on your bill. Efficiency and What It Really Means An electric heating element converts essentially all the electricity it draws into heat in the room. There is no flue, so nothing is lost up a chimney. It is worth being precise about what that does and does not tell you. It means the appliance wastes nothing. It does not mean electricity is the cheapest way to heat a room, because that depends on what a unit of electricity costs where you live compared with a unit of gas. In many countries electricity costs considerably more per kWh. Compare the two rates on your own bill before assuming a swap will save money on heating alone. Why Zone Heating Changes the Sum Where an electric fireplace genuinely saves money is by letting you avoid heating rooms nobody is in. Zone heating means warming only the space you are actually using. Turning the central heating down and running the fire in the living room for an evening can work out cheaper than heating the whole house to the same comfort level, even though electricity costs more per unit. The saving comes from heating less space, not from the appliance being cheaper to run. How well this works depends on your home. It suits a well-insulated room where you spend long evenings in one place. It works less well in an old, draughty house, or if you end up running the fire and the central heating together. Four Ways to Keep the Cost Down Use flame-only mode outside the coldest months. The single biggest saving available, and most people underuse it. Choose a model with a thermostat. The element cycles off once the room reaches temperature instead of running continuously, which can cut consumption substantially over an evening. Use the low setting first. A room that is already warm rarely needs full output to stay warm. Turn the central heating down when the fire is on. Running both at once removes the entire benefit of zone heating. If you are unsure which output suits your room, get in touch and we will talk it through with you.
Read more
Electric Fireplaces Explained: What They Are and How They Work
Key Takeaways An electric fireplace produces its flame with light rather than combustion, so there is no smoke, soot or ash Heat comes from a separate electric element and fan, and can be switched off so the flame runs on its own year-round No chimney, flue or ventilation is needed, so one can go in almost any room The three main formats are freestanding, wall-mounted and built-in Flame realism ranges from simple LED through 3D optics to projection-based systems marketed as holographic What is an Electric Fireplace? An electric fireplace creates the appearance of a fire using light rather than combustion. Because nothing is actually burning, it produces no smoke, soot or ash, and it has no effect on your indoor air quality. All it needs to run is electricity. With no chimney, flue or ventilation required, it can be installed quickly and placed almost anywhere: living room, bedroom, kitchen or office. Despite the flame being an effect rather than a fire, it can look convincing, and many models let you adjust the brightness and choose between different flame colours. Heat and flame operate independently, so you can run the flame effect on its own during warmer months. Many models can also be controlled by remote or a phone app. How Does an Electric Fireplace Work? There are two separate systems inside the unit, and understanding that they are separate explains most of how these fireplaces behave. The heat Heat comes from a built-in electric heating element, usually a coil or resistance element. When it is switched on, a fan blows the warmed air out into the room. Most models offer several heat settings, and many include a thermostat so the element cycles rather than running constantly. With the heater off, the unit stays cool to the touch, which is why the flame effect is safe to run all year. With the heater running, the outlet grille and the area around it become warm, so keep furniture, curtains and rugs clear of the airflow. The flame The flame is produced by LEDs combined with reflective surfaces. The LEDs supply the colour and movement, while mirrors and angled glass multiply and scatter that light to give the impression of flames with depth. Decorative elements sit in front: moulded logs, crystals or stones, often with their own small LEDs to suggest glowing embers. Controls and safety Starting one is usually a single button on the unit or the remote. Beyond that, electric fireplaces include built-in safety features that fuel-burning fires cannot offer, most importantly temperature sensors and an overheat cut-out that shuts the element down automatically. Many also have a child lock. Types of Electric Fireplace Freestanding models are the simplest. They stand on the floor or sit inside an existing fireplace opening, and all they need is a socket. They cover a wide range of styles, from stoves that mimic a wood burner to modern mantel suites. Wall-mounted models save floor space, which makes them a good fit for smaller homes and flats. Fitting one is comparable to hanging a flat-screen TV, so it does not normally require a professional installer. Our installation guide covers what to check first. Built-in inserts sit inside the wall so only the glass is visible, giving the cleanest finish. They can often be fitted into an existing opening left by a wood stove or older fireplace. Options range from single-sided through see-through and corner units to three-sided panoramic designs. How Realistic Do They Look? Realism varies a great deal, and it is worth knowing what separates the tiers before you compare models. Basic LED systems project light onto a flickering surface. They read well from across a room and are the most affordable option, but the flame sits visibly on a surface rather than in space. 3D optics add angled glass and partial mirrors to layer reflections, producing genuine depth that holds up better at close range and from different angles. Projection systems go further again, displaying recorded footage of real fire. Our guide to realistic electric fireplaces compares these technologies in more detail. As a rule of thumb, the further you sit from the fire, the less the difference between tiers matters. What is a Holographic Fireplace? A holographic fireplace is an electric fireplace that uses digital projection rather than LED backlighting. High-resolution LCD or OLED screens play footage of real flames, which is then directed onto angled beam splitter glass or onto a physical log set. The name is generous. These are not holograms in the strict sense. The technique is the Pepper's Ghost illusion, a stage trick dating from the nineteenth century, brought up to date with modern optics and video. The beam splitter lets you see the physical logs and the projected flames at the same time, so the flames appear to move around and through the logs with no visible screen behind them. Many models add micro-LEDs inside the log set to suggest glowing embers, plus speakers reproducing the crackle of burning wood. Heat output typically runs from around 800W to about 1.5kW and works independently of the flame effect. Wi-Fi, app control and voice assistant support are common at this end of the market. A Note on Water Vapour Fireplaces One related category sits outside everything above. Water vapour fireplaces create their flame from an ultra-fine mist lit by LEDs, so the effect occupies real space rather than being an optical illusion, and you can pass your hand straight through it. The trade-off is upkeep, since the water tank needs refilling and periodic cleaning. We list these separately, so browse there if that appeals. If you have questions about any of this, contact us and we will be glad to help.
Read more
Realistic Electric Fireplaces: The Ultimate Buying Guide
Discover how LED flames, 3D optics, holographic effects, realistic fuel beds and crackling sound work together to make an electric fireplace look like real fire.
Read more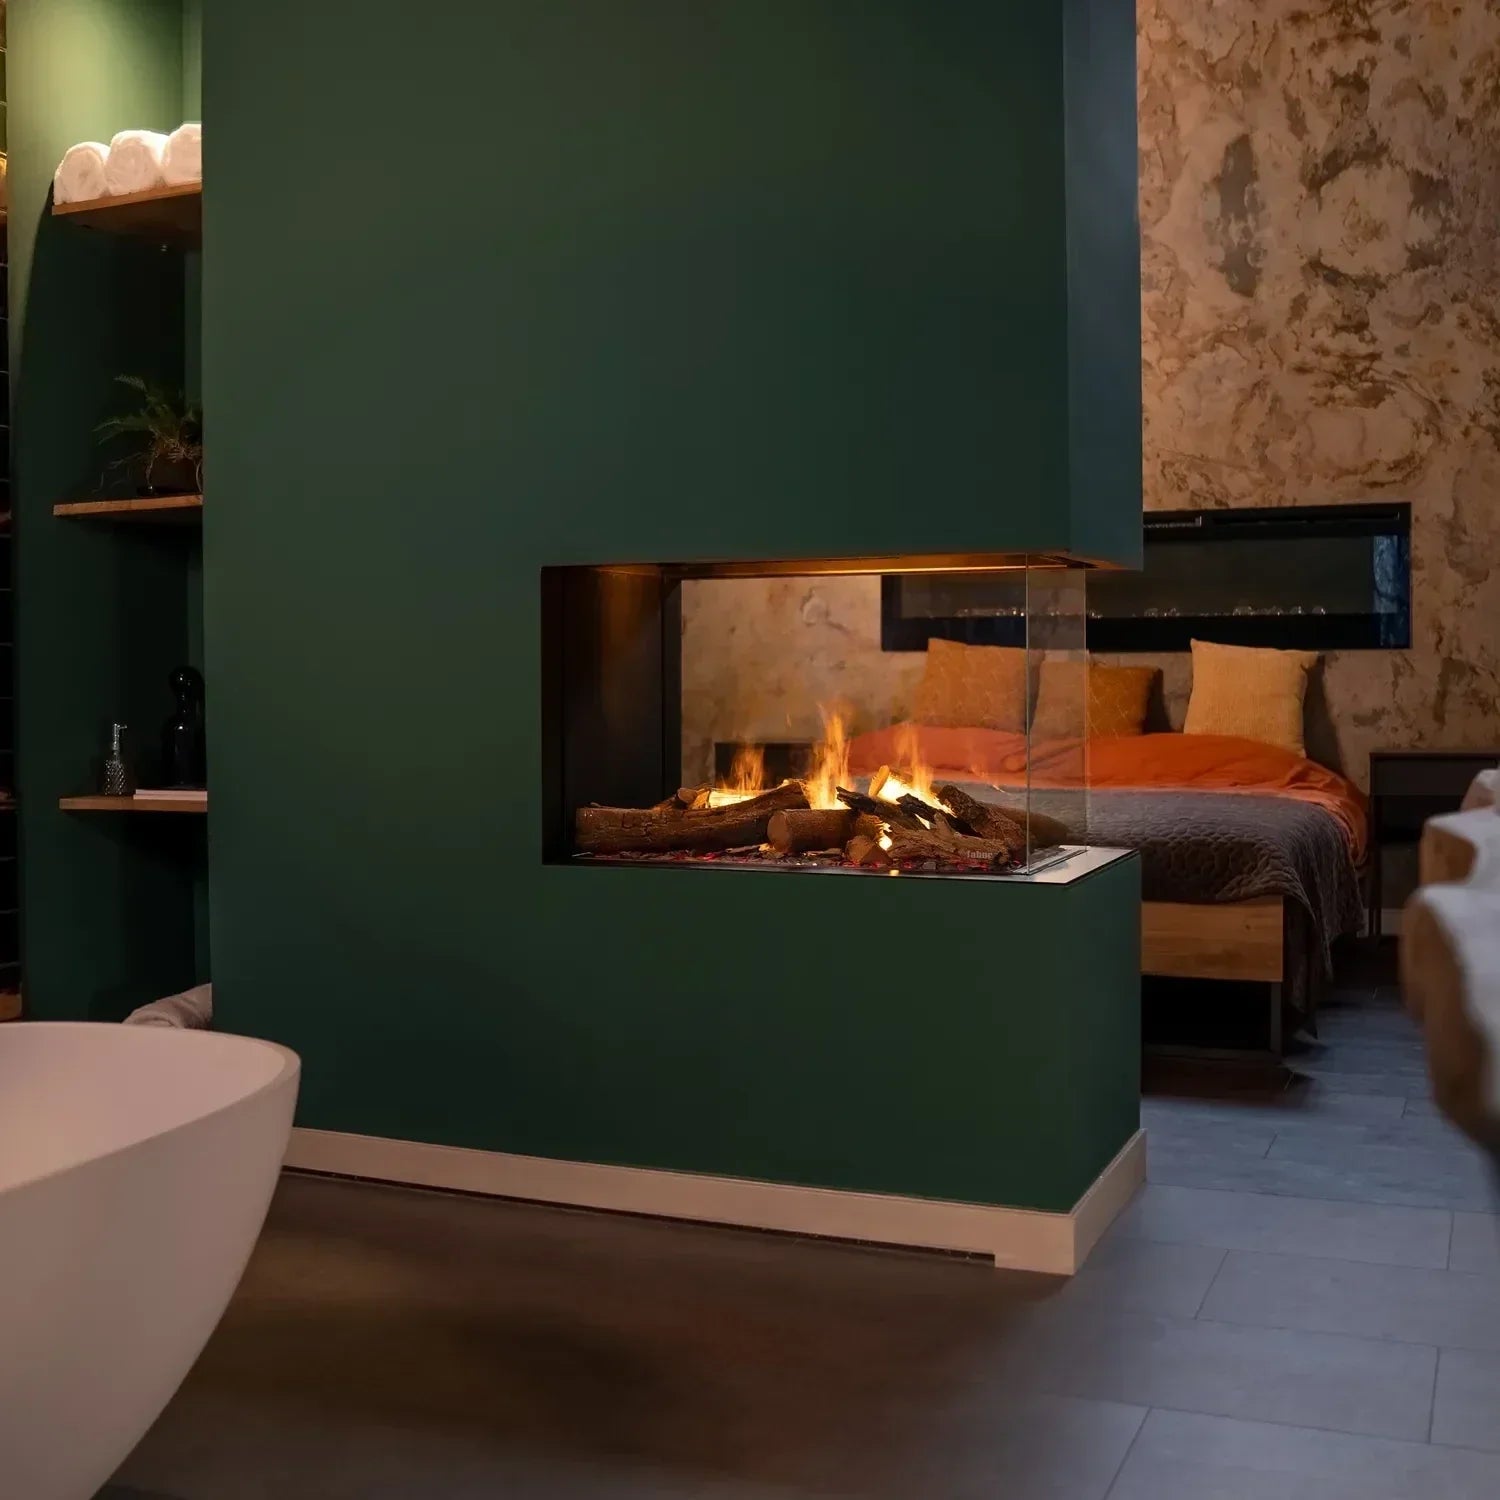
Replacing a Gas Fireplace with an Electric Fireplace
Swapping a gas fire for electric means no flue, no annual service, and no combustion in the room. Here's what the conversion involves, from safe gas disconnection through to choosing and fitting the replacement.
Read more


